How to Make a YouTube Banner: A Complete Guide
In addition to establishing the tone of your channel and attracting audiences, a YouTube banner is necessary for creating the right tone. It is a short visual introduction to the beauty of your company that helps new visitors understand what your material is really about. A well-designed banner also enhances credibility by portraying your channel as organized and professional.
In this article, you will learn how to make a YouTube banner, and the steps involved in making, sizing, and uploading a YouTube banner that identifies your business and is also compliant with the requirements of YouTube.
Part 1: Why You Need to Make a YouTube Banner
The YouTube banner says something about the character and intention of your channel, and for new accessing viewers, it's often the first thing they see. Here's why having a good-quality banner is so important:
- Professionalism: An effectively created banner conveys professionalism. It shows the viewer that you take what you're offering seriously and have put in the time and energy to make sure you are presenting a neat and tidy channel.
- Brand Identity: The channel brand is visually expressed by a banner, regardless of whether your channel's focus will be reviewing, educative, inspirational, or entertaining. For example, your logo and the images and tagline represent your niche.
- Engagement: You can invite visitors to study your content with an attention-grabbing header. A visually appealing design with useful data like your broadcast schedule, or social media handles, makes your channel user-friendly and organized. "What kind of videos does this channel have?" is one question that a banner can help answer. Or "Am I relevant to this content?"
Part 2: How to Make a YouTube Banner: The Requirements
It is more than just an exercise of your imagination to come up with a banner for YouTube because you also have to adhere to the technical specifications of YouTube and therefore end up with a banner that will look great on any screen. As for the things you need to know, it is as shown below:
Safe Area and Dimensions
- Recommended dimensions are 1440 x 2560 pixels.
- The safe area is measured at 1546 by 423 pixels.
- 2048 x 1152 pixels is the minimum size required.
- JPEG, PNG, and GIF files with a maximum of 6 MB file size.
It is that section that appears on every screen-from TV to desktop to mobile, so a safe area is quite important. To make sure that your design elements, text, and logo, don't get cropped on various devices, then make sure they stay within the safe area that measures 1546 x 423 pixels.
Bonus: Best Camera for Shooting YouTube Videos: OBSBOT Tail 2
When creating content for your YouTube channel, your banner imagery, or even video snippets, you need one of the best cameras out there. The OBSBOT Tail 2 is created in a way to is extremely easy for the user while also making it look as professional as possible. Approved attributes of its engagement include AI-driven features and superior video quality that help record dynamic and captivating videos on-brand for your channel.
Key Features:
- 4K Ultra HD Quality: Ensure you shoot high-quality and vibrant visuals for your content and channel advertisements.
- AI Tracking 2.0: Maintain perfect focus on your subject as you move around to get the best quality YouTube content.
- 5x Optical Zoom: Make captivating close-ups and specific perspectives secure to help you promote products or design corresponding visuals for your channel's image.
- 90° Rotatable Gimbal: Change between landscape and portrait modes to fulfill various shooting demands.
- Comprehensive Connectivity: It supports USB, HDMI, and SDI which makes it easy to fit into the creation process of your content.
Innovative features of the OBSBOT Tail 2 make your YouTube visuals professional, polished, and engaging helping to make a good impression on the channel visitors.
Part 3: Tools for Designing a YouTube Banner
Canva
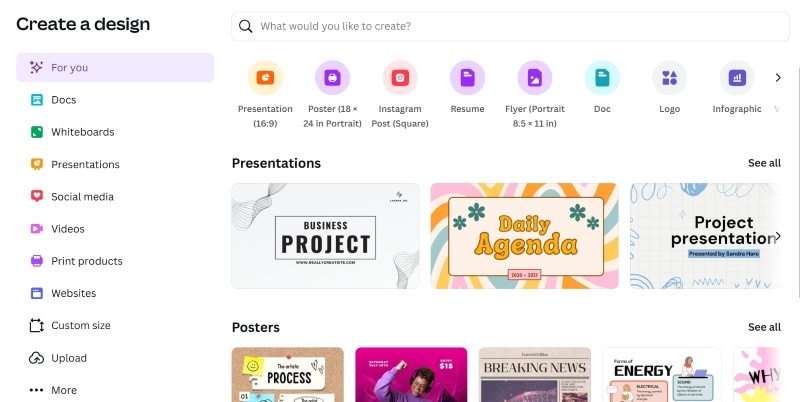
Canva is such a versatile design tool with a humongous template collection and intuitive drag-and-drop functionality that makes it ideal for newbies and experts alike. You can create professional-quality images like business cards and social media posts easily, all with a desktop or mobile application. While the Premium version offers professional templates, brand kits, and collaboration tools good for businesses, even the free version works very well. Canva is definitely to choose for any design project because of the features which it encompasses and because it is very easy to use with an attractive layout.
Pros:
- User-friendly
- Large library of templates
- Drag-and-drop functionality
- Accessible on both desktop and mobile
This tool is perfect for beginners as it offers free and paid templates specifically for creating YouTube banners.
Adobe Express
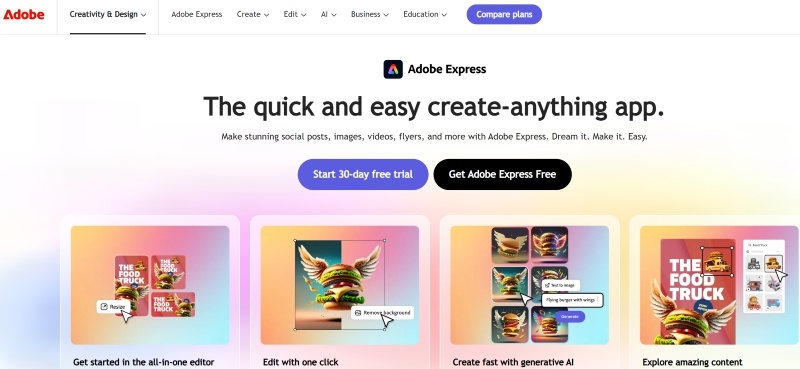
Adobe Express is an intuitive web-based and mobile design tool that makes it simple and quick for users to produce a wide range of visual material. It uses a freemium business model, where basic functions are accessible with the free version, and more themes, photos, and tools are unlocked with the premium subscription. The tool works especially well for creating social media posts with editable templates, so even people with no design background can utilize it. Canva is suggested as a substitute, though, for anyone looking for a more user-friendly interface.
Pros:
- High-quality design options
- Integration with Adobe Creative Cloud
- Customizable templates
This tool offers a professional design experience with easy-to-edit templates. It's helpful for those familiar with Adobe products and looking for a quick design solution.
Photoshop
Many rate Adobe Photoshop as one of the best image editing programs due to its sophisticated features and wide-ranging capabilities. Professionals appreciate it as a full-range tool for photo editing, alterations, and graphic design. However, novices might need some time to get used to it; its user interface is well-designed and provides helpful instructions. Its connection to Adobe Creative Cloud makes the productivity and efficiency of collaboration more reasonable. However, it only comes via membership basis, not necessarily anyone's preferences.
Pros:
- Highly customizable
- Supports advanced design features
- Provides control over every element.
If you're familiar with graphic design, this tool offers in-depth customization, helping you create a truly unique banner.
Fotor
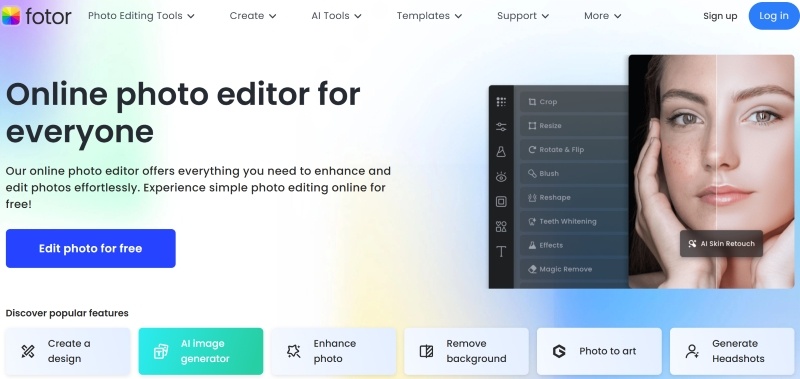
Fotor is a flexible photo editing and design application that can accommodate a wide range of capabilities appropriate for beginners and experienced users alike. Its inclusive feature includes many AI-powered tools and picture effects, ranging from object and background removal used to enhance pictures. It is effective in making designs aside from simple alteration photos because this software also has powerful layout features. Still, Fotor's user interface lacks extensive photo management features and sometimes seems downright anachronistic. It is also less reliable when it comes to converting raw camera files in comparison to some of its competitors.
Pros:
- Easy to use
- Offers templates
- Supports a range of effects
- Customizable text options
This tool is perfect for quick edits and basic customization. It even offers simple templates that fit well with YouTube dimensions.
Picsart
Picsart is an AI design platform that has all the tools for graphic design, content production, and picture as well as video editing. Being feature-rich, with features such as picture generation as well as AI-powered background removal, it becomes pretty easy for most users to work here. As the platform allows collaboration features, multiple people can collaborate on projects in parallel. Although the free version has many interesting features, the premium plans of this application offer even more advanced functionalities, as well as an ad-free experience. Considering everything, Picsart is a very versatile tool covering really wide artistic needs, thus being worth using by content producers.
Pros:
- Extensive library of features, templates, and effects
- Intuitive interface for both desktop and mobile
This tool is perfect for users who want to include artistic elements and creative flair in their designs with advanced effects, stickers, and overlays.
Part 4: How to Make a YouTube Banner
Are you ready to build your YouTube banner? Here's how you can create channel art easily:
Step 1: Choose a Design Tool
First, choose an appropriately-measured design tool for your level of experience. If you're new to the world of design, Canva and Adobe Express are excellent beginner options. Try Photoshop when you want more control.
Step 2: Set Your Canvas Dimensions
Start with a new 2560x1440 pixel canvas. That means the banner will now be perfect on any screen, perfectly designed to meet YouTube's requirements.
Step 3: Inclusion of Visual Elements
- Logo: To establish an identity for your company.
- Tagline: Capture attention with a tagline or slogan.
- Visuals: Use pictures or icons that represent your theme. For example, a gadget review channel can use gadgets, while a travel channel can use landscapes.
Step 4: Everything Inside the Safe Area
Headings, logos, and other key images should fit inside the safe area of 1546 x 423 pixels. They will not be cut off when viewed on mobile screens this way.
Step 5: Apply Contrast and High-Resolution Images
Use high-resolution images so that there is clarity. Another thing you can do is apply contrast to let your text stand out from images and vice versa. Remember, if your background is dark, you'll want your text to be light.
Step 6: Finalize Your Design
Test several layouts and textures. Make sure your brand colors coordinate. Do not add too much clutter, but rather aim for that clean, polished look.
Part 5: How to Add a YouTube Banner
It's time to post your finished banner to your YouTube account.
Step 1: Open YouTube Studio and Log In
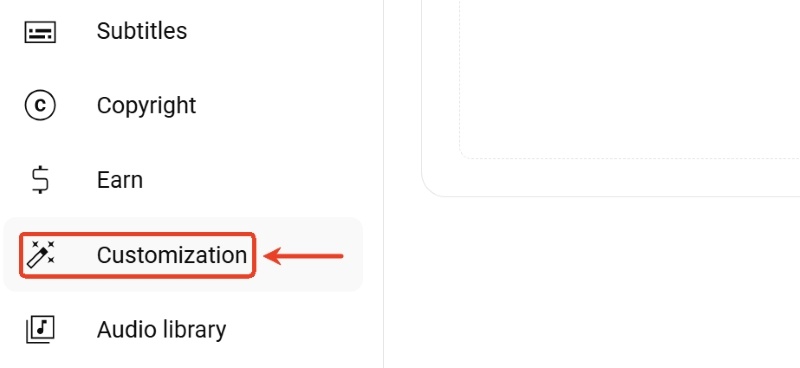
Access YouTube Studio and sign in using your credentials. Then, go to the menu on the left and choose 'Customization'.
Step 2: Visit the Profile Page
Choose the 'Profile' tab from the 'Customization' section.
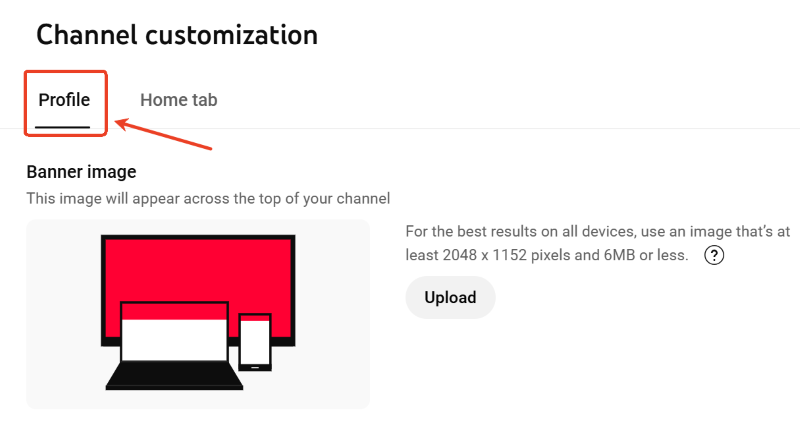
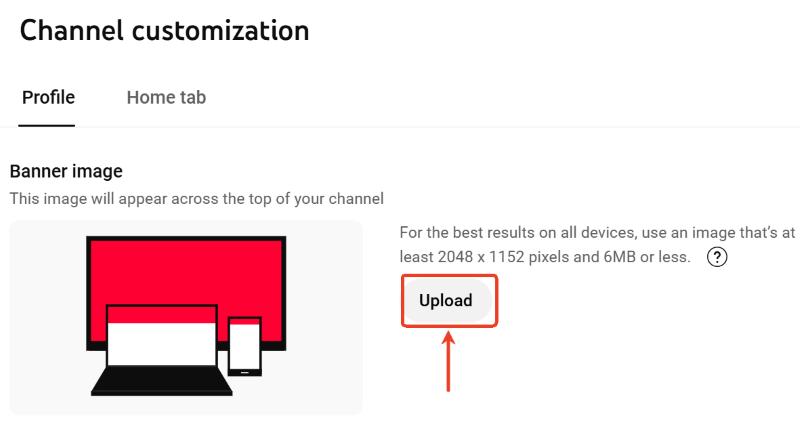
Step 3: Upload Your Banner
Choose your freshly created banner from your files by clicking the 'Upload' button in the banner area.
Step 4: Adjust the Crop
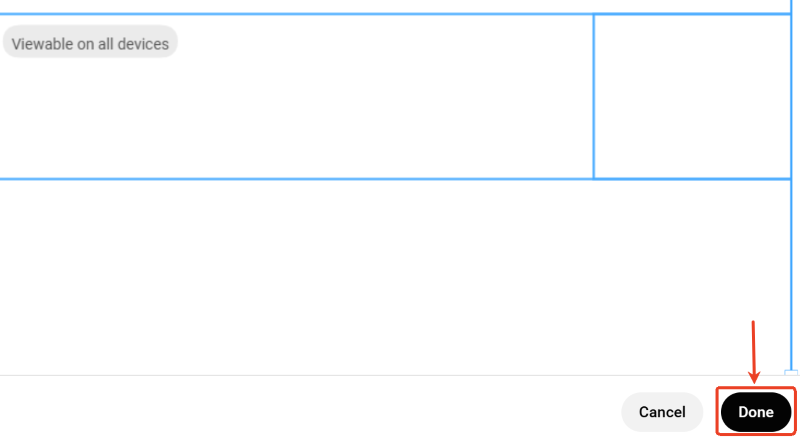
You may preview your banner on many devices with YouTube. Make sure all important design components are inside the safe zone by adjusting the crop.
Step 5: Save and Publish
After you're satisfied with the preview, click 'Done' to make your new banner Live.
Conclusion
A well-crafted YouTube banner serves as a tool for engagement and brand development in addition to being a decorative element. You can learn how to make channel art that appears professional and improves the appeal of your channel on all devices by following these steps. To make sure everything displays properly, use high-quality photos, concentrate on your brand's message, and keep in mind the safe area. With the correct resources and strategy, your YouTube banner can make an impression that will stick with visitors and entice them to read more of your material.


