How to Use a Webcam on Laptops?
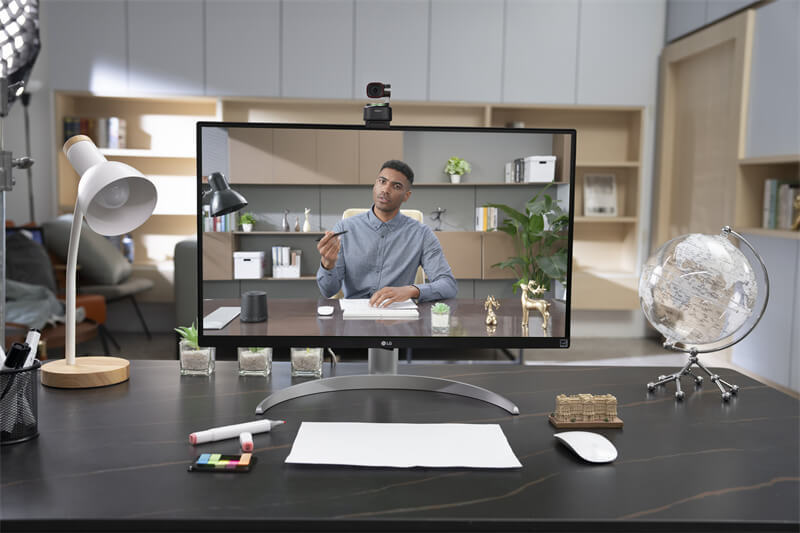
A webcam is a video camera that points at the user. Built-in webcams and stand-alone devices connect to a desktop computer's monitor. We usually use a webcam for video calling and selfies. While most models come with a microphone, many users prefer to use headphones for better audio quality.
Videoconferencing is becoming increasingly popular in our increasingly mobile and technologically driven world, particularly for businesses with employees who work from home. If you know how to connect a webcam to a laptop, you can freely host and participate in a video conference call with it.
Thus, read on as this article provides instructions on how to use the webcam on a laptop.
How Many Types of Webcams Are There?
There are primarily three types of webcams on the Internet. Thus, before learning how to attach a webcam to a laptop, you should know about these webcams.
Built-in or Internal Webcams
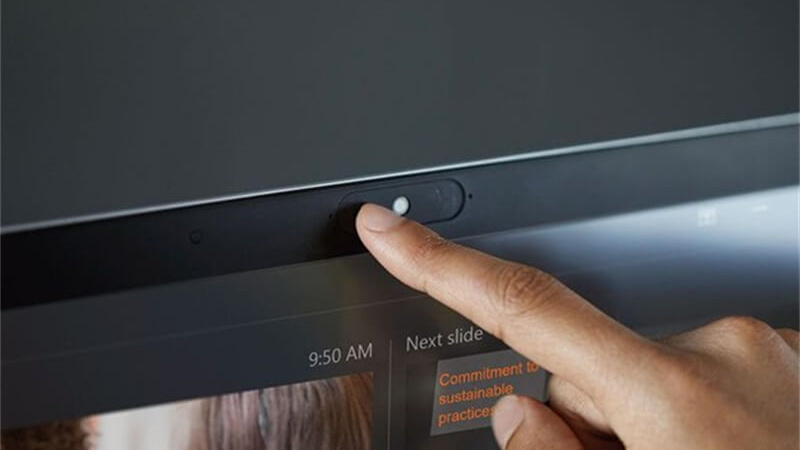
These cameras are built into a monitor and are typically positioned just above the screen and affixed to the monitor's frame. Internal webcams are on laptop computers. However, you can also find them in stand-alone monitors and all-in-one computers.
Well-equipped cameras come with internal webcams and a miniature lens that is visually comparable to the camera lenses found on mobile phones. Because these lenses are so compact and discreet, some people may be completely unaware that they even have a webcam installed on their laptops.
External Webcams
Webcams not built into a computer are known as "external webcams". External webcams attached to your computer are much larger than those built into your computer. They require you to use a USB cable to connect them to your computer.
Most external webcams come packaged with either a hook that allows you to hang them from the edge of your PC screen or a stand that enables you to place them on a level surface. These are typically small cameras installed manually and fixed on a stand or tripod, or they can be attached directly to a laptop. Although most external webcams require little initial configuration, most will begin functioning as soon as you plug them in.
Network Webcams
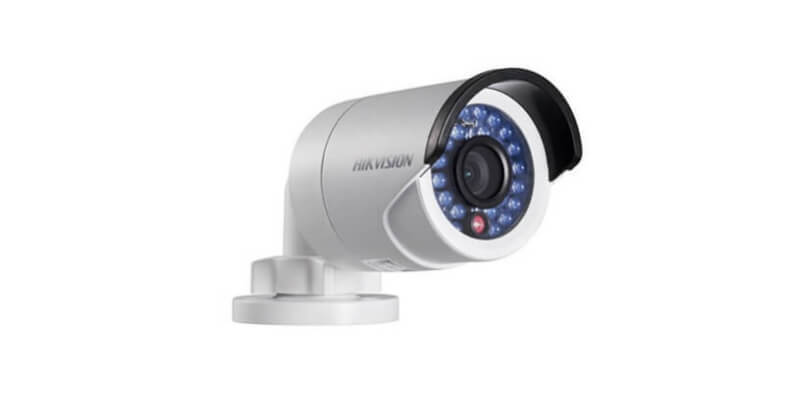
A digital camera used for monitoring is a "network webcam/camera". It was pioneered in 1996 by Axis Communications and is also known as an IP camera.
The analog closed-circuit television (CCTV) systems widely used for the past several decades replace the network cameras, which are the successors of these systems. They use the local IP network, which also provides access to the Internet, rather than a separate dedicated network.
Network cameras transmit video in Motion JPEG, MPEG, or H.264 format using standard Internet Protocol (IP) protocols. A dedicated network video recorder (NVR), a computer with video management software, records video (with or without audio) from each camera in real-time. The recording can take place with or without audio. Most network cameras have motion detectors and built-in web servers that run Linux. Cameras are configured and viewed through any web browser.
How to Use a Built-in Webcam on a Laptop?
If your laptop has a built-in microphone and webcam, you can use Skype to make video calls and upload videos to YouTube directly. Additionally, you can livestream on Facebook and engage in a wide variety of other activities that involve viewing the video. But all of these come with the premise that you need to know how to use your built-in webcam.
If you don't know what to do, here is our guide on how to set up a built-in webcam on a laptop for your information.
1. How do I activate/enable my laptop webcam in Windows 10?
Windows 10 has an app called "Camera", which controls webcams. You can choose which programs and websites allow camera access in the system settings.
Suppose you find that your webcam isn't turning on or there's an error. In that case, you'll need to check to see if your camera is set up so that you can activate it whenever you use an application. It may be why your webcam isn't working if it's turned off.
If you want to enable your laptop webcam in Windows 10, you can follow these steps.
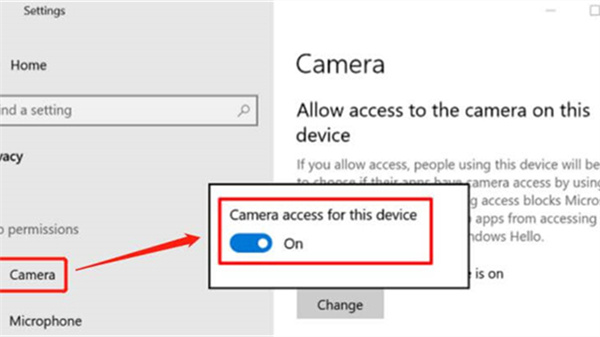
Step 1. Access the Privacy menu by navigating to Windows > Settings.
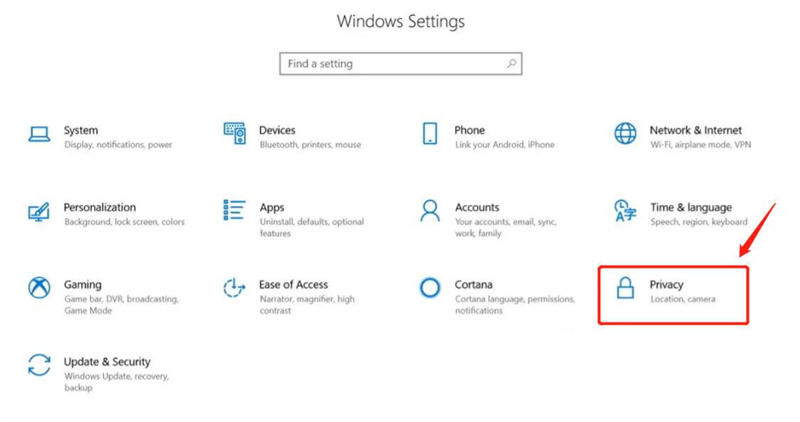
Step 2. Choose "Camera" from the list of app permissions.
Step 3. You should be able to tell at the very top of the screen whether or not you have enabled access to the camera on your device. To modify this setting, select the Change below, and then use the slider to enable or disable your webcam.
2. How can I check if my laptop camera is working?
Are you unsure as to whether or not the webcam on your computer is functioning correctly? In that case, you should try turning it on manually to determine whether or not there are any problems. You can accomplish this action in a few different ways. However, the most straightforward method is activating your webcam using the Camera app preinstalled on Windows 10.
Here we will guide you on how to check if your laptop camera is working.
Step 1. Proceed to the search bar in the lower-left-hand corner of your Windows desktop.
Step 2. Try looking for the Camera app and selecting it when you find it.
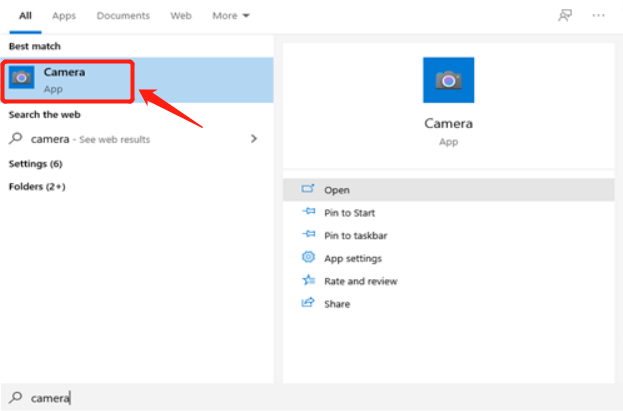
Step 3. The application will launch, and a notification will inform you that you have activated your camera. Additionally, the light for your webcam ought to turn on. You'll have a small window that displays the feed coming from your webcam.
How to Use an External USB Webcam on Laptop Computers?
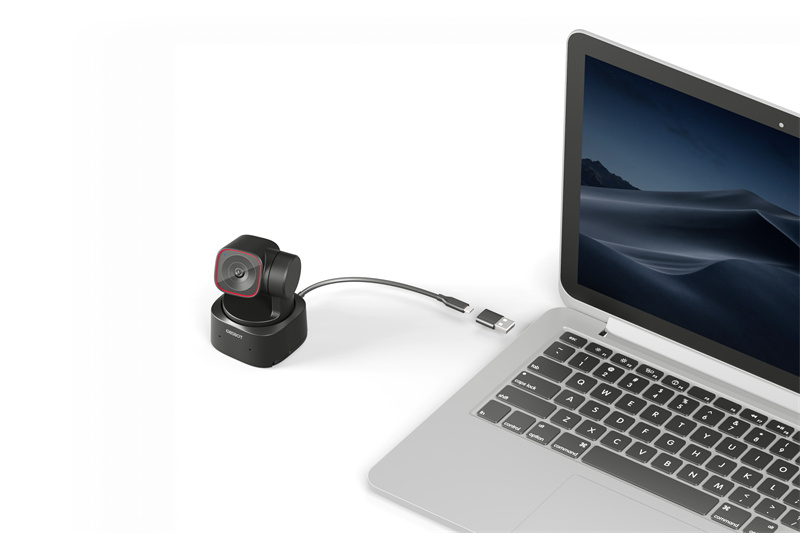
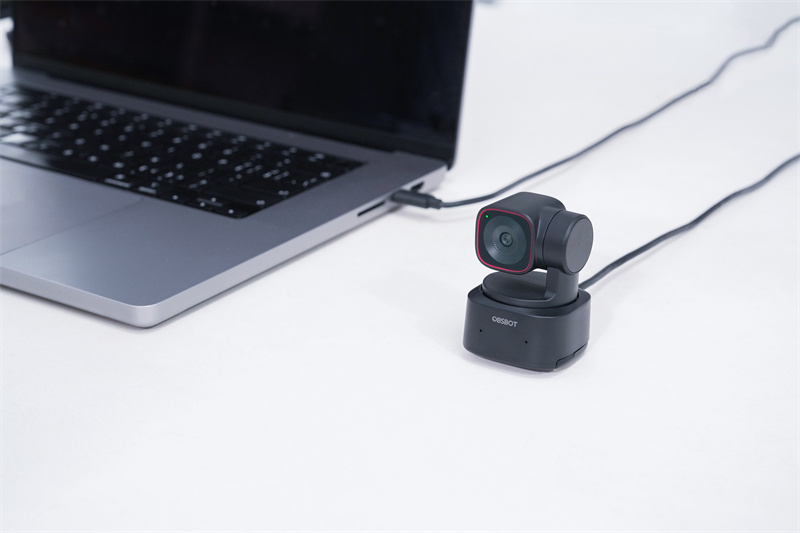
If you are trying to connect an external webcam to your laptop, you usually need the help of a USB cable. Here we will take an excellent webcam - OBSBOT Tiny 2 as an example to show you how to easily connect an external webcam to a computer.
Key Features:
-
4K Video: It has a 1/1.5'' CMOS, supporting up to 4K at 30 fps and 1080p resolution at 60 frames per second, ensuring clear and crisp visuals.
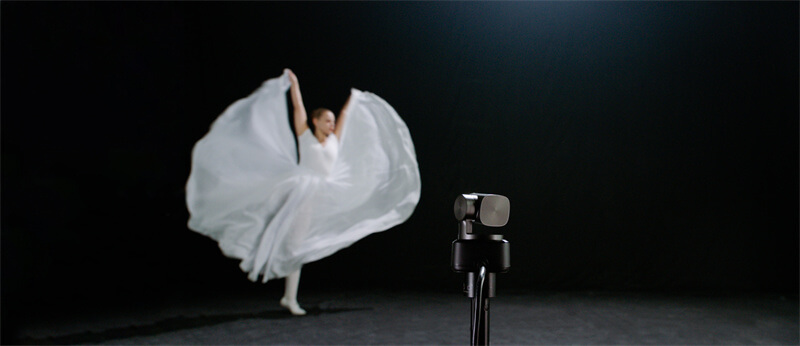
- AI-Powered Tracking: Utilizes advanced AI technology for smooth and precise face and body tracking, ensuring you're always in focus during video calls or recordings.
-
Gesture Control: Enables gesture-based commands for hands-free operation, allowing users to control the camera without physical contact.
- Low Light Shooting: Leveraging advanced AI-driven technology and a highly sensitive sensor, this compact webcam delivers vivid, noise-free visuals, ensuring you remain crystal clear and well-defined, no matter the lighting conditions.
-
Plug-and-Play: Provides a hassle-free setup process with simple plug-and-play functionality, making it user-friendly for quick deployment.
To set up the OBSBOT Tiny 2 webcam, you just need to plug the USB-C data cable provided into an available USB port on your laptop or PC. Then the webcam will start installing itself on your device automatically. Pretty simple, huh?
Before attempting to access the webcam, please give it a few seconds to finish the installation process. After that, you are free to use any popular calling platform such as Zoom, Microsoft Teams, Skype, or Google Meet.
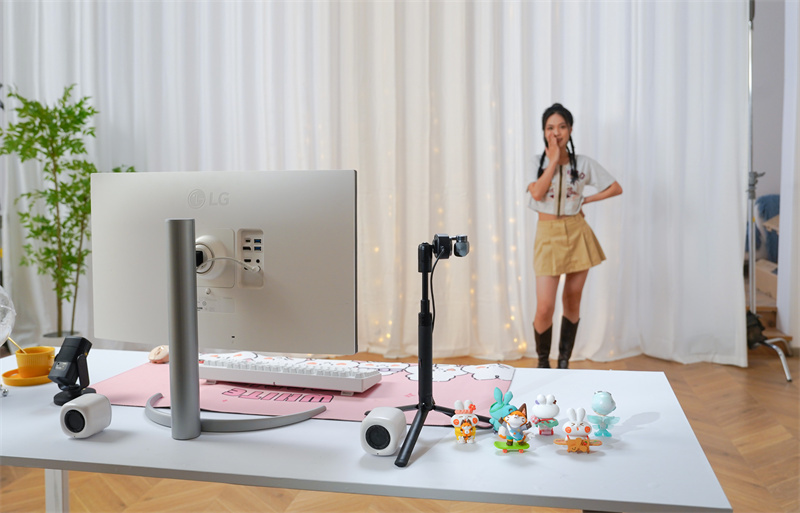
You can directly place the OBSBOT Tiny 2 on desktops. To place it on a monitor, you need to open and mount the flexible base. If you want to attach it to a stand or tripod, you can use the universal UNC 1/4-20 nut connector at its bottom.
FAQs About the Use of Webcams on Laptops
1. Where is the webcam on my laptop?
Many laptops come with webcams that are either built-in or integrated, typically positioned in the top center of the screen.
2. Why does my webcam not work in Windows 10?
You may need permission for apps to use the camera if you have recently updated Windows 10. In recent iterations of Windows 10, certain applications do not have access to the camera by default. Choose Start > Settings > Privacy > Camera from the menu to give your device permission to use the camera.
3. Why is my laptop camera not detected?
After a recent update, you may miss some necessary drivers if your camera stops working in Windows 10. It is also possible that the antivirus software is blocking the camera, that your privacy settings do not permit access to the camera for certain apps, or that there is a problem with the app you want to use.
4. Do I need a webcam for Zoom?
Participating in a Zoom meeting or webinar does not require using a webcam on your end. You will, however, be unable to use the video feature if you do not have a webcam.
Conclusion
So, after reading the above post, are you confident about how to use the webcam on a laptop?
Most built-in webcams are of satisfactory quality as many of today's laptop computers come equipped with an integrated webcam, allowing users to connect a webcam to a laptop and record videos or participate in online video chats. The OBSBOT Tiny 2 external webcam is your best bet if you want to take advantage of more advanced features like panning, and auto-tracking, and learn how to improve camera quality on a laptop.
