How to Use NDI with OBSBOT Tail Air
Introduction to NDI
NDI (Network Device Interface) is a technology developed by NewTek that allows video sources to be shared over an Ethernet local area network. It enables different video production software and hardware to communicate with each other and transfer high-quality, low-latency video between systems.
Steps to Use NDI with OBSBOT Tail Air
Step 1: Activate NDI on OBSBOT Tail Air
Note: The HDMI signal wouldn't be outputted when you're using the NDI connection on Tail Air.
- Make sure you've got an exclusive NDI code from OBSBOT official store.
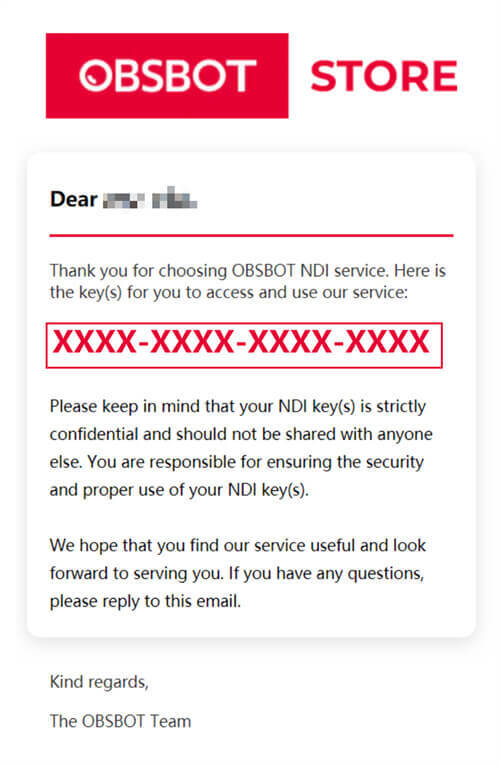
Once you purchased the NDI License Key, an email will be sent via OBSBOT Team.
- Connect your Tail Air device with your mobile via OBSBOT Start App.
- Find the NDI setting in "More settings" of OBSBOT Start App.
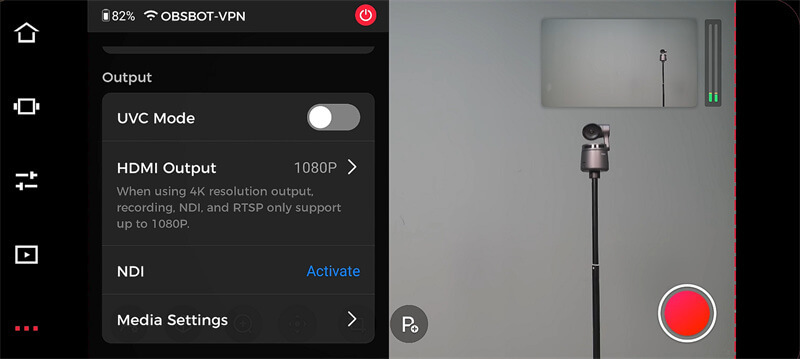
- Click "Activate" and enter your NDI key, the NDI status will transform into "Activated".
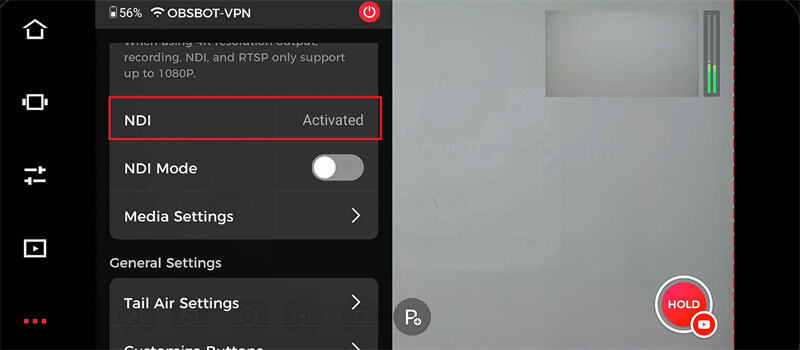
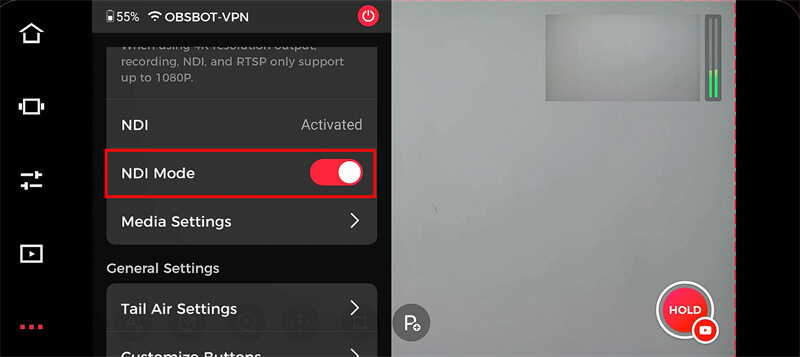
- Turn on the "NDI mode" button, now you can continue the process on your NDI Tool App.
Step 2: Downloading and Installing NDI Tools
To start using NDI, you'll need to download the NDI Tools pack from NewTek's website.
- Go to https://ndi.video/tools/ndi-core-suite/.
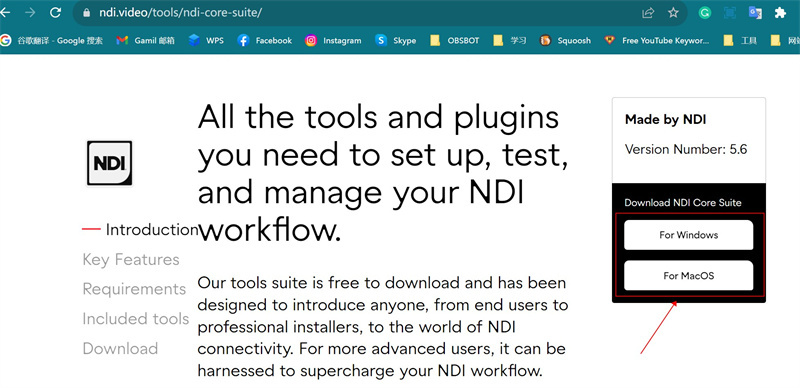
- Click on "Download NDI Tools".
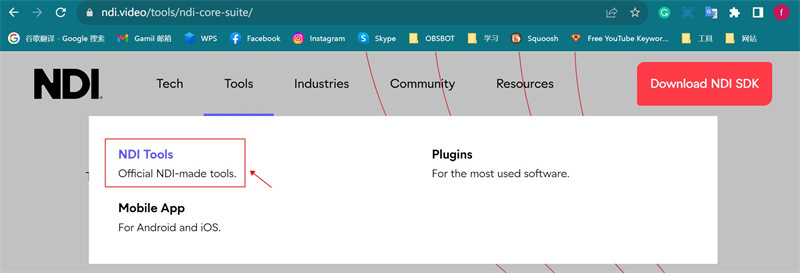
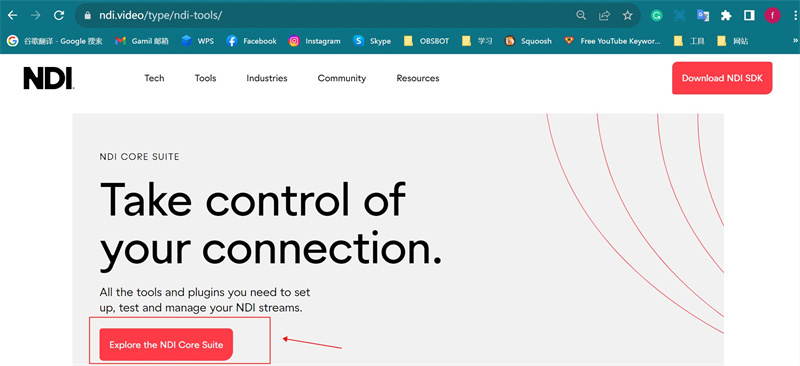
- Install the NDI Tools on your computer. This will include NDI Scan Converter, NDI Studio Monitor, and other utilities.
Step 3: Connecting NDI Sources
Once you have NDI Tools installed, connecting NDI sources is straightforward.
- Ensure the Tail Air device you want to connect is on the same local network.
- Use the NDI Scan Converter utility to turn Tail Air's signal into an NDI stream. Launch NDI Studio Monitor app and select your video input.
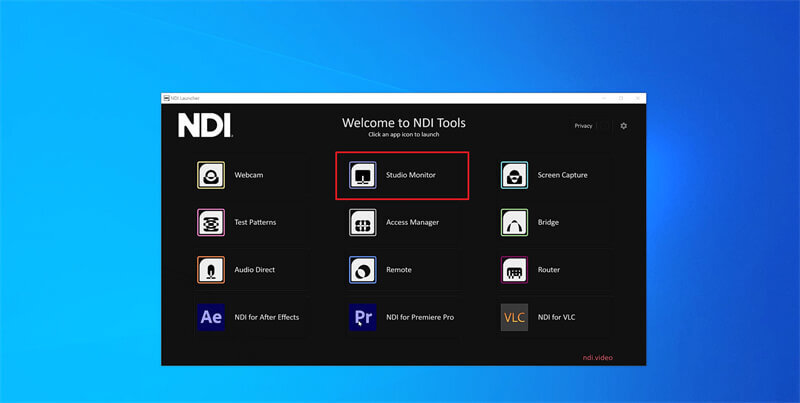
- You should now see the NDI source video feed in your receiving app or device!
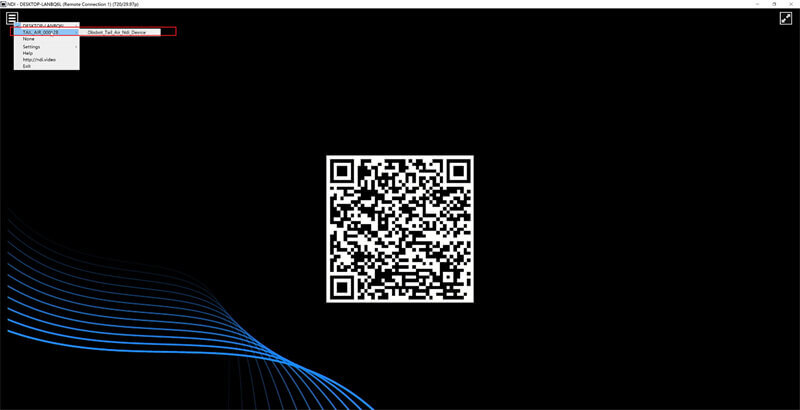
- Select the matched device and you can now see the real-time video signal from Tail Air.
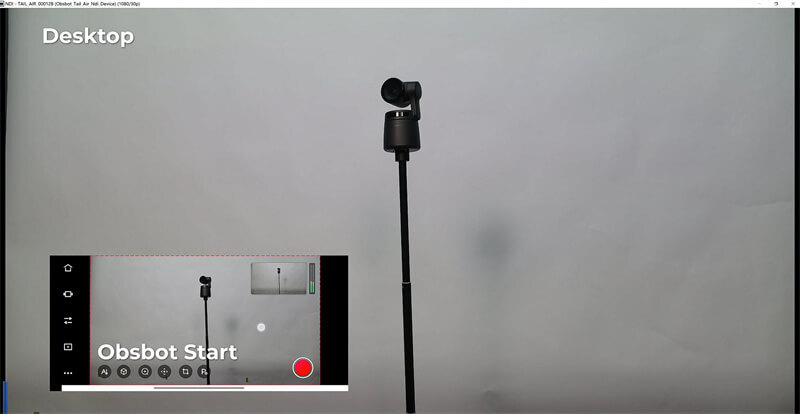
If you're using tools such as OBS Studio or Vmix, visit their respective websites for more information about the NDI application on their platforms.
obs-ndi - NewTek NDI™ integration into OBS Studio | OBS Forums (obsproject.com)


